The biggest custom foam insert mistakes on a first order are loose tool tracings, missing finger pulls, skipped lid foam, ignored case depth and a rushed mockup approval. Customized Foam Inserts catches most of them in the free layout mockup returned within 24 hours, so a few minutes of careful review means your foam inserts fit every tool the first time.
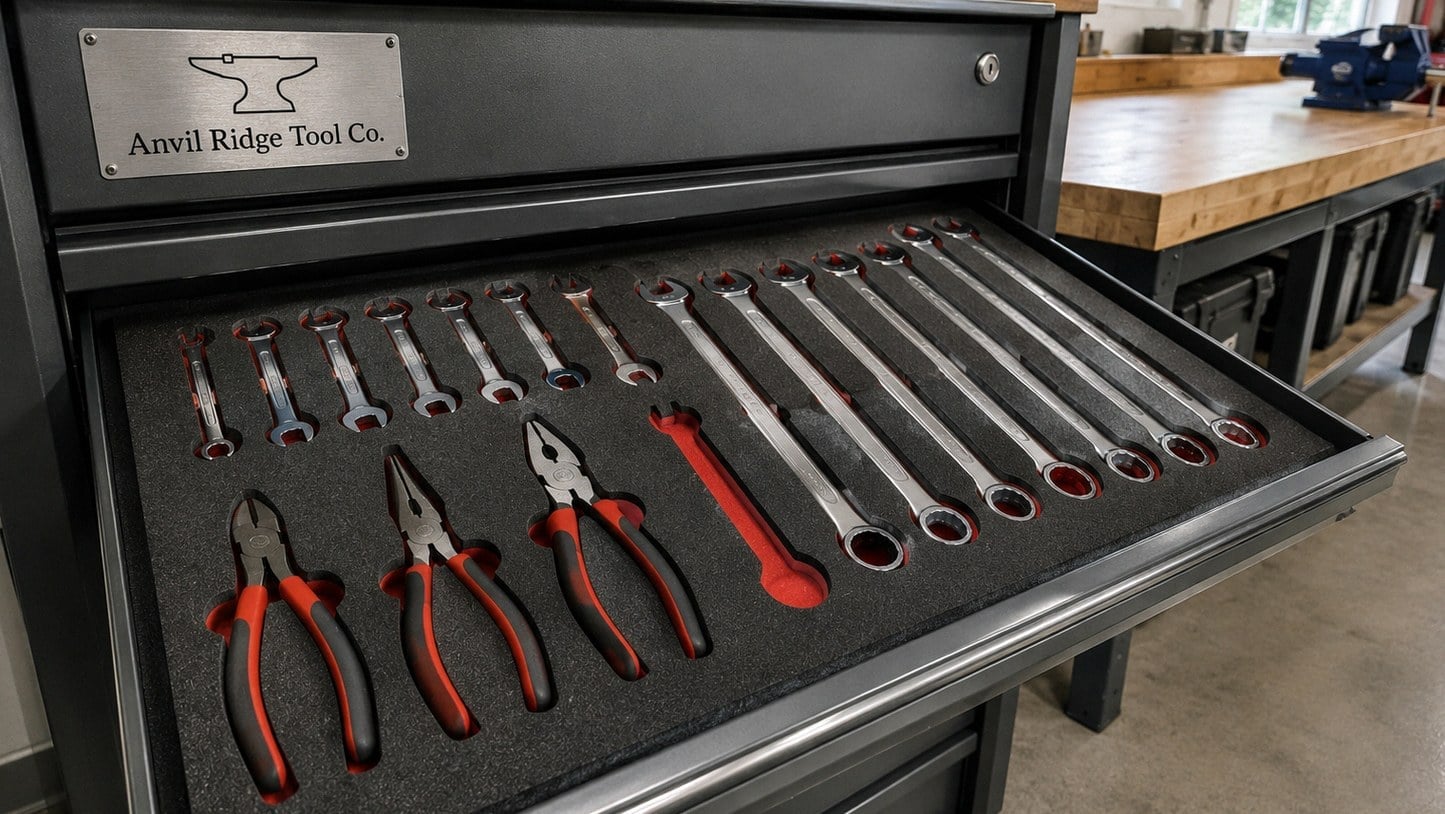
- Free layout mockup within 24 hours, with unlimited free revisions
- You pay nothing until you approve the design
- Minimum order is 12 foam inserts, ideal for a pilot run
- Standard turnaround is about 2 weeks; faster turnaround is available with express shipping
What are the most common mistakes on a first custom foam insert order?
The most common mistakes on a first custom foam insert order are tracing tools loosely, forgetting finger pulls, skipping the lid layer, ignoring case depth, and approving the mockup without checking it against the real kit. Every one of these shows up after the foam is cut, when a wrench will not seat or a meter rattles in transit.
None of these problems comes from the foam itself. They come from the information that goes into the layout. A custom foam insert is only as accurate as the tool list, the case model and the photos the buyer sends. When those inputs are complete, the cut foam drops into the case and every tool lands in its pocket on the first try.
The good news is that each mistake is easy to catch before production. Customized Foam Inserts returns a free layout mockup within 24 hours, offers unlimited free revisions, and asks for no payment until you approve the design. That review window is where a first order succeeds or fails, so the sections below walk through what to check while the layout is still a drawing.
- Loose or incomplete tool lists
- No finger pulls or grip space
- A base insert with no lid foam
- Cut depth that ignores the case wall
- A rushed mockup approval
Why do foam inserts end up with pockets that are too tight or too loose?
Foam insert pockets end up too tight or too loose when the layout is built from catalog drawings or rough tracings instead of the actual tools in the kit. A socket set from one brand, a replacement meter with a thicker boot, or a tool still in its holster will each change the outline enough to matter.
Tight pockets are the more frustrating failure. A technician has to pry the tool out, the foam wall tears over time, and the kit stops getting used the way it was meant to. Loose pockets fail more quietly: the tool shifts during transport, edges rub, and the shadow outline no longer tells anyone at a glance that something is missing.
To avoid both, photograph each tool flat on a contrasting background with a ruler or known object beside it, and send the exact make and model wherever you have it. Include accessories that travel with the tool, such as a battery, a lanyard or a protective cap. If a tool has a version you plan to switch to soon, say so before the layout is drawn rather than after.
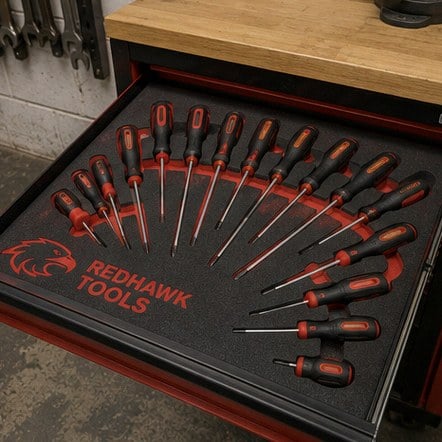
Do custom foam inserts need finger pulls and grip space?
Yes, most custom foam inserts need finger pulls or a thumb notch beside any tool that sits flush or below the foam surface. Without grip space, a perfectly fitted pocket becomes a pocket nobody can empty quickly, and people start lifting tools by the edges or flipping the whole insert upside down.
First-time buyers often leave grip space out because the mockup looks cleaner without it. In daily use, a flat bar, a feeler gauge set or a small torque adapter can be almost impossible to pick out of a snug cutout. Round finger pulls work well for small parts, while a longer slot suits flat tools and anything with a narrow handle.
Tell Customized Foam Inserts who will be using the kit and whether gloves are part of the job. A gloved hand needs wider pulls than a bare one, and a kit used in a dim hangar or on a truck tailgate benefits from pulls placed on the same side every time. The mockup should show every finger pull, so check that each one sits where a hand will naturally reach.
What goes wrong when a hard case insert skips the lid foam?
When a hard case foam insert skips the lid layer, tools can lift out of their pockets as soon as the case is turned on its side, carried on a strap or loaded into a vehicle. The base cutouts hold tools sideways, but only a lid layer presses them down and keeps them seated.
Many buyers order a single cut base insert because the case already came with a thin lid pad, or because the lid foam looks optional on the quote. The problem appears during shipping or on the first field job, when a heavy tool climbs out of its pocket and knocks into its neighbor. Delicate items such as optics, gauges and handheld meters are the most exposed.
A softer, uncut lid layer is usually enough to solve this. For tall items that stand above the base foam, the lid layer can carry its own matching cutouts so the top of the tool is captured as well. If you are not sure whether your kit needs lid foam, describe how the case travels and the team can recommend a setup. The hard case foam insert page shows how base and lid layers fit together.
How does case depth trip up a first foam insert order?
Case depth trips up a first foam insert order when the tallest tool, the foam thickness under each pocket and the lid clearance are not planned together. If the foam is too thin under a pocket, tools bottom out against the case shell; if the stack is too thick, the lid will not latch without crushing something.
The interior depth printed on a case label is not always the usable depth. Rounded corners, hinge hardware, latch housings and a lid that curves inward all eat into the space a foam insert can occupy. Buyers who measure only the open box often discover the issue when the lid will not close.
- Measure the inside depth of the base and the lid separately.
- Note the tallest item and how it sits, lying flat or standing up.
- Leave a solid layer of foam beneath every pocket so tools never touch the case wall.
- Mention any wheels, handles or internal brackets that intrude into the case.
The existing guide on measuring your case covers the measuring steps in detail. The point here is simpler: tell Customized Foam Inserts the case brand and model, and send a photo of the empty case with the lid open, so the layout can account for features a tape measure misses.
Is it a mistake to approve the foam insert mockup too quickly?
Approving a foam insert mockup too quickly is one of the most expensive mistakes on a first order, because the approved layout is exactly what gets cut. The mockup is the last point where changes cost nothing, and Customized Foam Inserts offers unlimited free revisions before you sign off.
A careful review takes only a few minutes when the right person does it. The buyer who placed the order is often not the person who uses the kit every day, so forward the mockup to a technician, crew lead or warehouse manager and ask them to check it against the real tools on a bench.
- Confirm every tool on your list appears in the layout, and nothing extra does.
- Check that the orientation of each tool matches how people actually grab it.
- Look for finger pulls beside flat and flush tools.
- Confirm any labels, part numbers or a logo are spelled correctly.
- Check that heavy tools sit near the hinge side or the center, not at a far edge.
- Ask whether an empty spare pocket would help with tools that are added later.
Only approve once the person who will open the case every day has signed off. That habit catches more problems than any measurement.
What other first-order mistakes should foam insert buyers watch for?
Beyond fit and layout, foam insert buyers commonly pick the wrong foam color for the job, forget to plan for tool changes, and order for one case when several models are in use. Each of these is easy to settle while the quote is being prepared.
| Mistake | What happens | How to avoid it |
|---|---|---|
| One foam color for everything | Missing tools are hard to spot in a dark case | Ask about a two-tone foam with a contrasting base layer that shows through empty pockets |
| No plan for tool upgrades | A new meter or driver will not fit the old pocket | Add a spare pocket or plan a new layout when the tool changes |
| Mixed case models on one layout | Inserts fit some cases and not others | List each case model separately so each gets its own layout |
| No labels in the foam | Similar tools go back in the wrong pockets | Request etched tool names or part numbers |
| Wrong foam for the contents | Electronics or delicate parts need different protection | Describe the contents and ask which foam suits them |
Material choice has its own guide on the blog, and so does anti-static foam for electronics. For a first order, the main step is to describe what goes in the case and how it is used, then let the layout and foam recommendation follow from that.
How can you make your first custom foam insert order go right?
The surest way to get a first custom foam insert order right is to send complete inputs up front, use the free mockup as a real review step, and start with a run that fits your actual need. The minimum order at Customized Foam Inserts is 12 foam inserts, which lets a team test a layout across a small group of cases before outfitting everything.
Gather the case brand and model, a clear tool list, flat photos of each tool, and a short note on how the kit travels and who uses it. Request a quote, review the mockup with the people who will use it, and ask for changes as often as you need. You pay nothing until you approve the design, and standard turnaround is about 2 weeks after approval, with faster turnaround available with express shipping.
Once the first run is in use, collect feedback from the field before reordering. Small changes, such as a wider finger pull or a relocated meter, are simple to make in the saved layout. Whether you are fitting tool drawer foam organizers, custom shadow boards or camera and drone case foam, the same checklist applies. When you are ready, request a custom quote and see the full process on the how it works page.
Frequently asked questions
What should I send with my first custom foam insert request?
A first custom foam insert request should include the case brand and model, a complete tool list, flat photos of each tool beside a ruler, and a short note on how the kit travels. Customized Foam Inserts uses those details to draw an accurate layout and return a free mockup within 24 hours, so complete inputs save rounds of revision later.
Can foam inserts be cut for tools that are still in their holsters or boots?
Foam inserts can be cut for tools in holsters, boots or protective covers, as long as the layout is drawn around the tool exactly as it will be stored. Tell Customized Foam Inserts whether each tool travels with its cover on, because a rubber boot or sheath changes the outline enough to make a bare-tool pocket too tight.
How do I check a foam insert mockup if I am not the person using the tools?
Checking a foam insert mockup works best when you forward it to the technician or crew lead who opens the case every day. Ask them to compare the drawing against the real tools on a bench, confirm orientation and grip space, and flag anything missing. Approve only after they sign off, since revisions are free until then.
Should heavy tools go in a particular spot in a foam insert?
Heavy tools in a foam insert are usually best placed near the center or the hinge side of the case rather than at a far edge. That placement keeps the case balanced when carried by the handle and reduces strain on the foam walls. Mention your heaviest items when requesting a layout so they can be positioned sensibly.
What is a two-tone foam insert and why would a first-time buyer want one?
A two-tone foam insert stacks a thin contrasting color layer beneath the main foam, so an empty pocket shows a bright outline. First-time buyers often choose this for tool control, because a missing wrench is obvious at a glance. Ask Customized Foam Inserts about color options when you request a quote.
Can I leave an empty pocket in a foam insert for a tool I plan to buy later?
Leaving an empty pocket in a foam insert for a future tool is a sensible choice when you know an addition is coming. Share the planned tool's make and model so the pocket matches it, or ask for a general spare pocket sized for a similar item. Planning ahead now avoids recutting the whole insert later.
What happens if my foam insert does not fit after it arrives?
A foam insert that does not fit after arrival should be reported with photos of the insert in the case and of the specific pockets that are wrong. Customized Foam Inserts can compare the result against the approved mockup and the details provided. Careful mockup review before approval is the best way to prevent fit problems entirely.
Do foam inserts for gloved users need different cutouts?
Foam inserts for gloved users generally need wider finger pulls and slightly more generous grip space around small tools. Bulky gloves make it hard to pinch a flat tool out of a snug pocket. Tell Customized Foam Inserts if the kit is used with gloves so the layout includes pulls that a gloved hand can actually use.
Is it better to start with a small run of foam inserts before outfitting every case?
Starting with a small run of foam inserts is a smart move for a first order, especially for a large fleet. The minimum order is 12, so a team can field-test the layout, gather feedback and adjust the saved design before ordering for every case. Small changes after a pilot are far easier than correcting a full run.
Can tool names or part numbers be added to a foam insert to prevent mix-ups?
Tool names or part numbers can be etched into a foam insert beside each pocket, which helps prevent similar tools from going back in the wrong place. Labels are especially useful for socket sizes, torque adapters and calibrated instruments. Check the spelling of every label on the mockup from Customized Foam Inserts before approving the design.
Why does my case brand matter when ordering a foam insert?
Your case brand matters for a foam insert because interior shapes vary between manufacturers, even when outside dimensions look similar. Rounded corners, hinge hardware and lid curves change the usable space. Naming the exact brand and model lets the layout match the case profile, so the foam drops in cleanly and the lid closes without crushing tools.
Get a free mockup for your foam inserts
Send your logo or idea and the quantity you have in mind. Customized Foam Inserts returns a free mockup within 24 hours, you approve the design before anything is produced, and standard turnaround is about two weeks with faster options available. Get a custom quote.